Home music production can be a rewarding and creative endeavor, but it requires the right tools to get the best results. Setting up an audio interface is essential for capturing high-quality audio recordings from instruments, vocals, and other sound sources. Here are some tips for setting up an audio interface for your home music production studio.
Choose the right audio interface: When selecting an audio interface, consider the number of inputs and outputs you need, the type of connections it offers (USB, Thunderbolt, etc.), and the quality of its preamps and converters. Choose an interface that fits your budget and meets your recording needs.
Install the drivers: Once you have chosen an audio interface, make sure to download and install the appropriate drivers for your operating system. Drivers are software programs that allow your computer to communicate with the audio interface, enabling it to function properly.
Connect your instruments and microphones: Before starting your recording session, connect your instruments, microphones, and other sound sources to the inputs of your audio interface. Make sure to use the appropriate cables and connectors for each device.
Set up your recording software: To record audio using your audio interface, you will need digital audio workstation (DAW) software. Configure your DAW to recognize the audio interface as the input and output device. Check the settings to ensure that the sample rate, bit depth, and buffer size are optimized for recording.
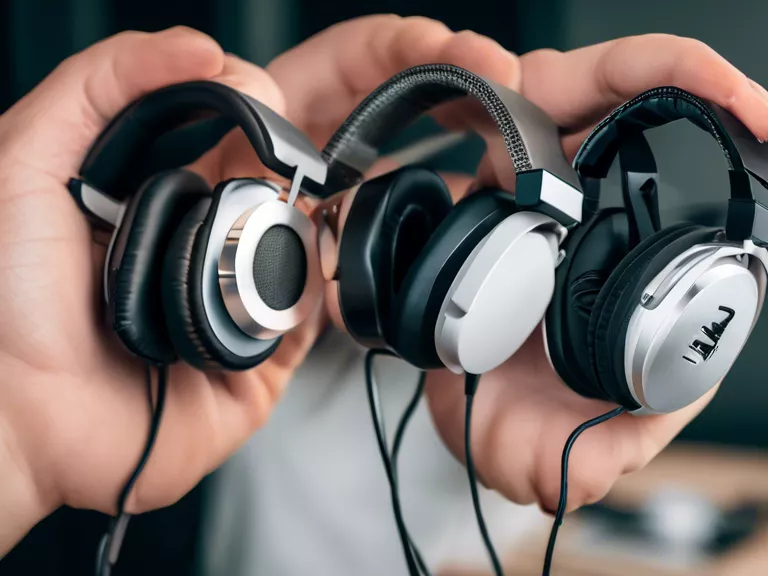
Monitor your recordings: Use headphones or studio monitors connected to your audio interface to monitor your recordings in real-time. Adjust the input levels to avoid clipping and ensure that the sound quality is optimal.
Following these tips will help you set up your audio interface for home music production and get started on creating your own professional-quality recordings.


